

How To Repair Coat Lining
This wintertime I decided to finally practice something virtually the ratty lining in my skilful winter coat. This coat is 100% wool, very well made, fits me really well with my short stature, but the lining is toast later on many years of use. Information technology is worn sparse in areas, pulled autonomously at seams, has a tear in the back, and been repaired multiple times. The outside is still in great condition, and so I purchased a quality lining material, and took it to two seamstresses in boondocks as I didn't call up I wanted to mess with it. But, turns out, they didn't either. So, what the hay, if I want information technology washed, I'll just have to practice information technology myself. Good thing I can sew!
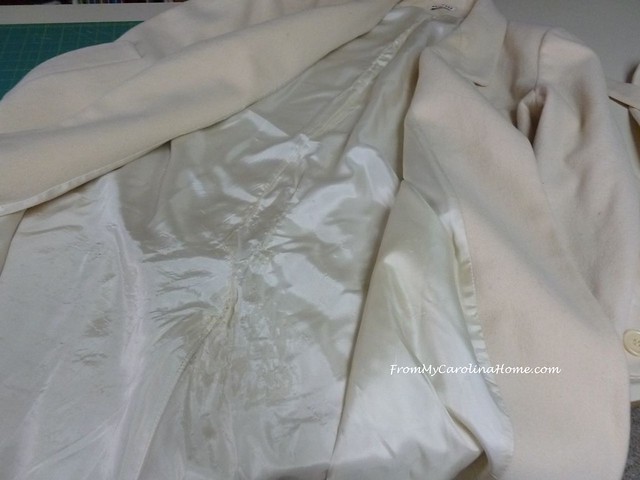
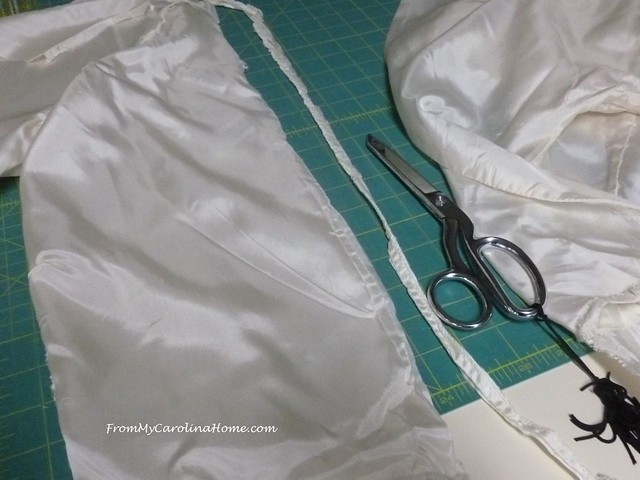
Today, I'll prove you how to construct the new lining, and next fourth dimension, we'll put it in. Begin past carefully removing the lining from the outer shell.
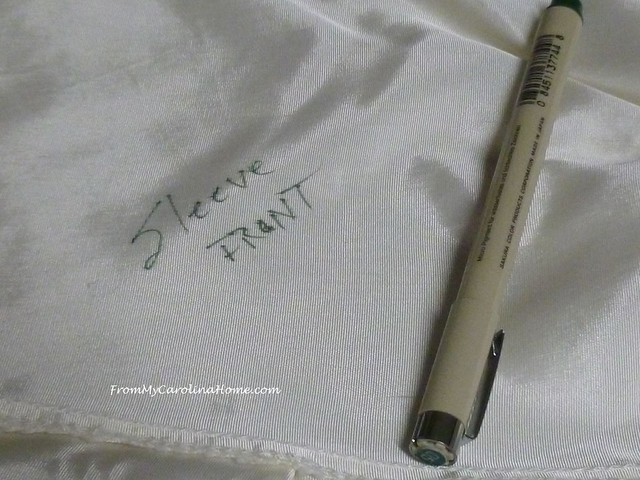
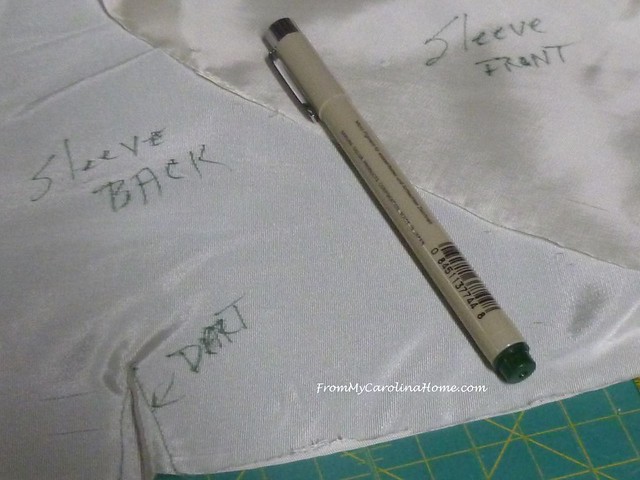
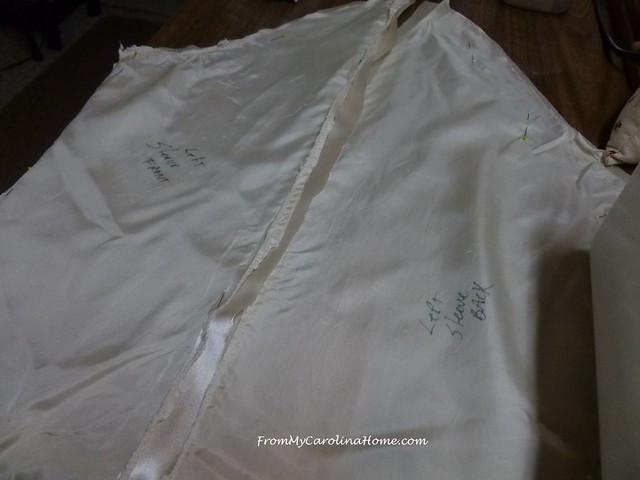
Mark lining pieces in permanent marking noting left and correct sleeves, center back left and correct. I added the left and correct after I took the photos and forgot to reshoot them, simply you get the idea.
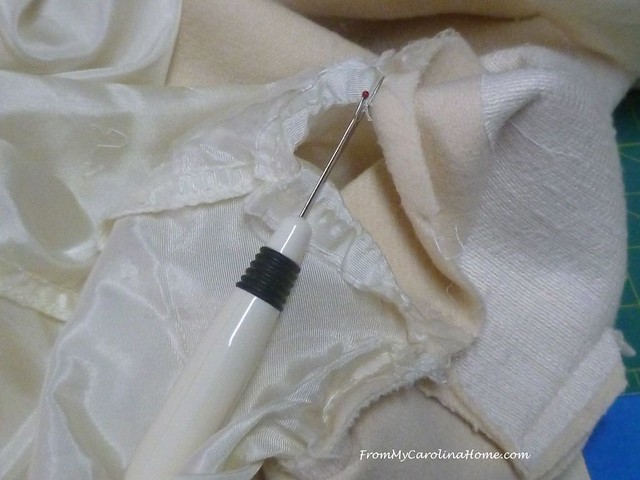
Cut lining apart at the seams, removing previous repairs if whatever to go on the lines of the piece straight.
Note darts, pleats and tack points.
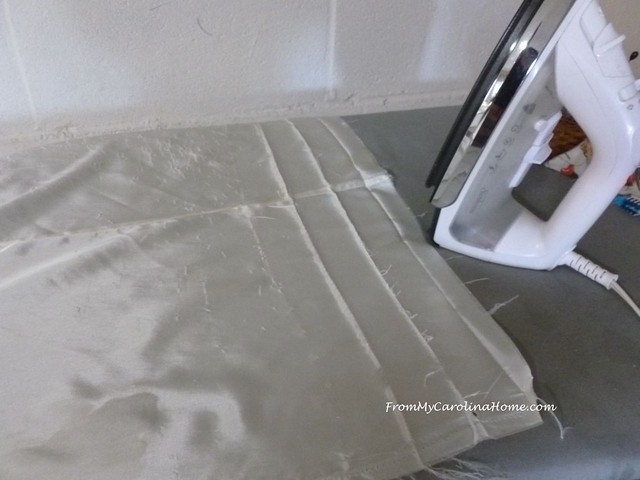
Printing the pieces flat as you can to make it easier to go a proper new slice cut.
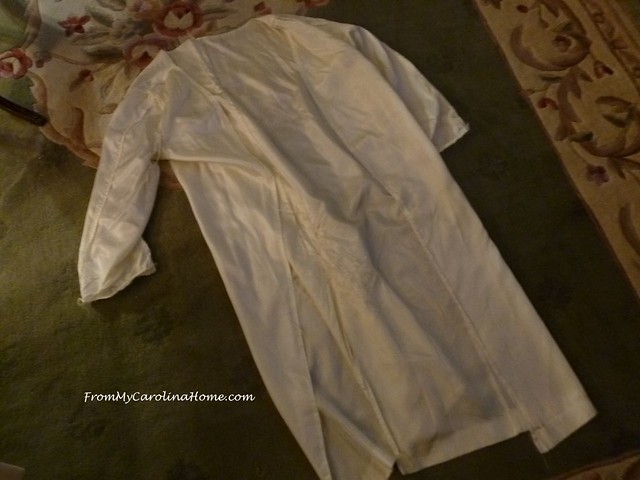
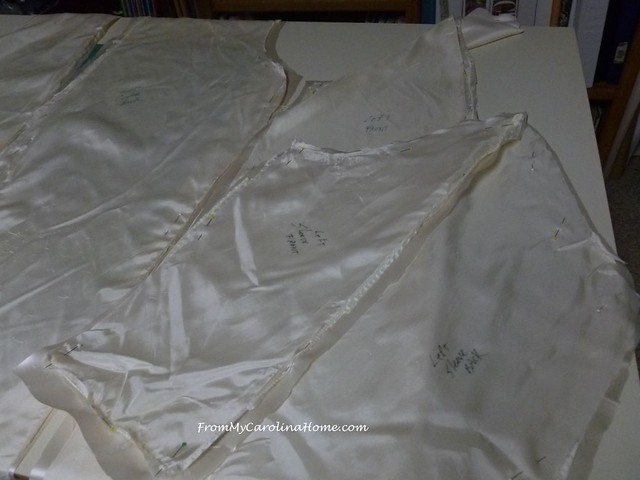
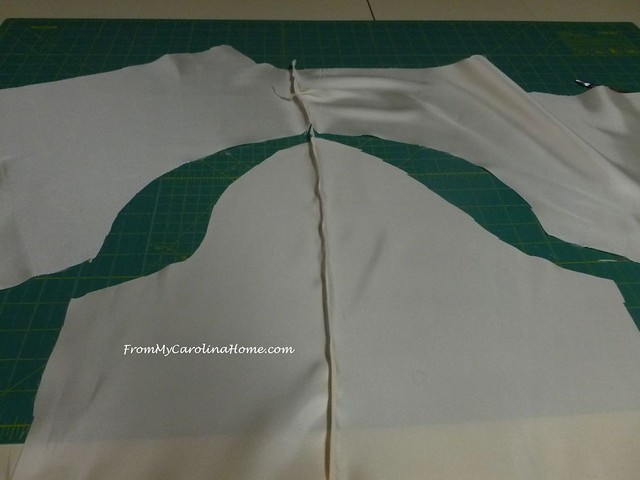
Lay new lining on the cutting tabular array in a single layer right side up. Pin the sometime lining pieces besides correct side upwardly to the new lining fabric. Lining material is very easily distorted, and so be sure no tension is on whatsoever part while cutting. For example, if the edge of fabric is hanging off the cutting table, it can pull on the fabric on height every bit you are cut, distorting the slice.

Cut out pieces. For my coat lining, I accept 8 – 2 sleeve fronts, 2 sleeve backs, 2 forepart panels and 2 back panels.
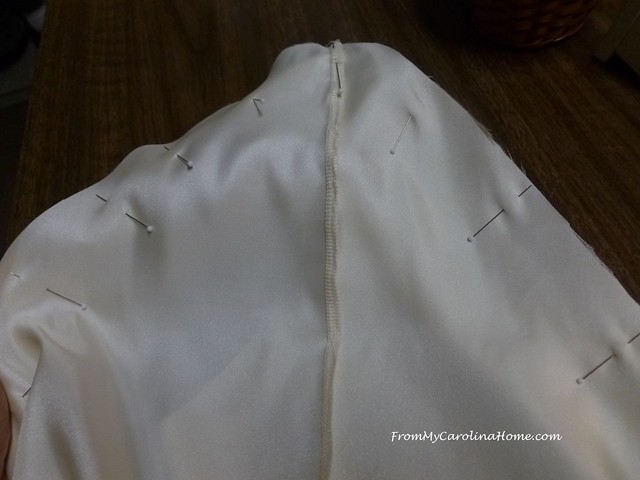
Sew left sleeve pieces together at the summit seam.
Sew left front to left back at the shoulder.
Pin sleeve into left side and stitch the 2 sections right sides together.
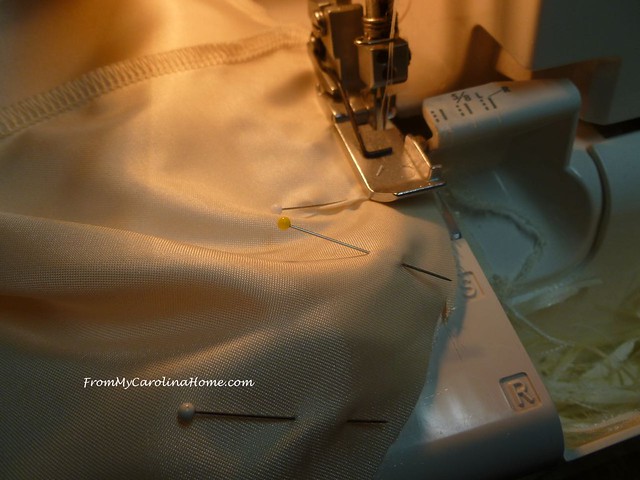
Then fold the section right sides together to sew underside sleeve seam and side seam in one continuous seam.
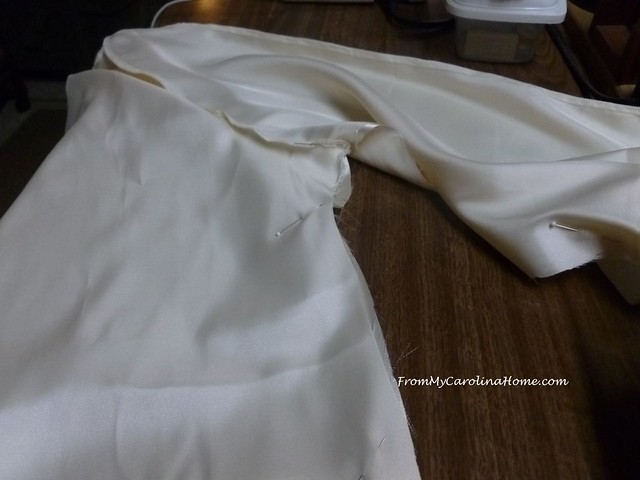
I used my serger for the lining construction, as information technology eliminates the raveling that can occur with satiny fabrics. If you don't have a serger, just utilize your domestic machine and when the lining is fully synthetic, you may want to zigzag the edges to forestall raveling.
Construct right side in the aforementioned manner. Place right sides together and sew center back seam. I didn't become a picture of the new lining all done, every bit I went straight to inserting information technology into the coat and forgot. Simply I think you take the thought. Next time, I'll evidence you lot how to insert it and finish it so no one will guess that you did it yourself!
Take you ever attempted a big projection similar this?
See part two for the finishing Relining a Winter Coat Finishing.

Source: https://frommycarolinahome.com/2018/11/26/how-to-re-line-a-winter-coat/
Posted by: graypospits.blogspot.com
0 Response to "How To Repair Coat Lining"
Post a Comment